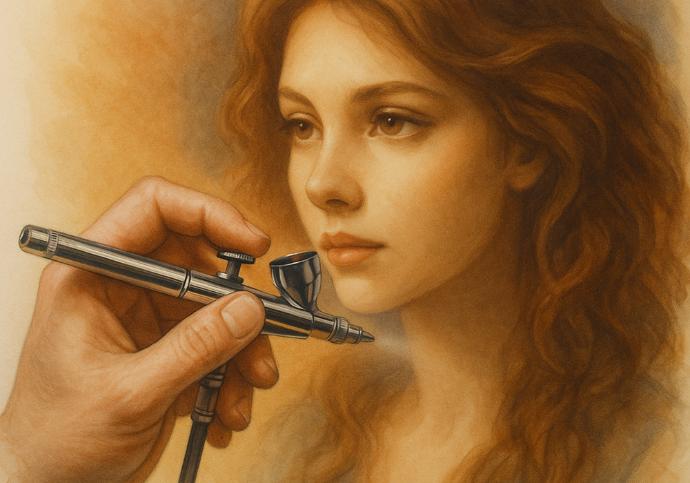
For illustrators, model makers, makeup artists, and
creative professionals, the airbrush is a captivating tool. It delivers
delicate lines, smooth gradients, and polished surface effects that hand
brushes and rollers simply can’t match. This article offers an in-depth guide
to airbrush techniques, from foundational operations to advanced applications
and practical tips, helping you master airbrushing and open up new creative
horizons.
Know Your Tool: Airbrush
Basics
An airbrush consists of the body, nozzle, paint cup, air valve, and compressor. Based on operation, there are two types: single-action, where pressing controls airflow with a fixed paint amount — ideal for beginners; and double-action, where pressing controls airflow while pulling back adjusts paint flow — better suited for experienced users.
Feed types include gravity feed with the cup on top
for fine detail work, siphon feed with a bottle below for large-area spraying,
and side feed for flexible multi-angle operation.
Airbrush Techniques:
Starting from Scratch
Paint mixing and thinning is the first step. Paint that’s too thick clogs the nozzle, while overly thin paint splatters. It’s recommended to aim for a milk-like consistency and always use compatible thinners.
Set air pressure between 15–30 psi — use lower pressure (15–20 psi) for detailed work and higher pressure (25–30 psi) for base coats or large areas.
When spraying, keep your hand steady and maintain a 5–10 cm distance from the surface. Test with air-only first, then gradually release paint. Move consistently to avoid pooling or uneven color.
Layering and gradients are built up using multiple light coats, gradually deepening colors and blending tones to achieve natural shading.
Masking tape, masking film, or laser-cut stencils can
create sharp edges, unique textures, or repeated patterns.
Advanced Techniques:
Amplifying Your Creativity
The stippling technique creates texture or special visual effects through dot spraying. Freehand spraying allows direct control over details and gradients, refining line work and shading fluency.
Color mixing involves layering multiple colors to build rich tonal depth and complex visual effects.
Masking fluid and negative techniques involve applying masking fluid, spraying color over it, then removing it to reveal highlights or specific patterns.
Common Application
Scenarios
In illustration art, airbrushing is commonly used for background shading, enhancing light effects, and depicting realistic textures. In model making, it’s essential for base coats, detailing, and weathering effects on Gundam, military, or airplane models.
For makeup and special effects, airbrushes are used
for stage makeup, film effects, and seamless airbrush cosmetics. Nail art and
body painting also benefit from the airbrush’s precision and creativity.
Daily Maintenance: Keeping
Tools in Top Shape
After each use, thoroughly flush the paint cup and nozzle with cleaner to prevent dried paint clogs. Perform a deep cleaning weekly, disassembling and inspecting the needle, O-rings, and air valve for wear or damage.
Avoid nozzle impacts during use, and always store the
airbrush in a dedicated holder to prevent deformation.
Latest Trends and
Innovations
With technological advancements, airbrushes are becoming smarter and more convenient. Wireless airbrushes equipped with lithium batteries and mini compressors free users from power cords, enhancing mobility.
Digital pressure control systems offer precise airflow
adjustment and improved stability. Eco-friendly water-based paints, known for
being low-odor and non-toxic, are ideal for indoor projects and professional
applications.